I love working with knits; they are a fabric that usually gets passed over by home sewers because in-experience working with them or not having a serger at home. One other reason they get passed over is because most knits (say, t-shirts) we purchase in the store, is that it's sometimes difficult to replicate the finishing techniques at home.
Worry no more.
It's maxi dress season here in Chicago, and I purchased two of them and both were too long on me (even in 4" wedges). They are made of a modal jersey fabric, so they are super drapey and stretchy. They are, by far, the most comfortable thing to wear on a warm summer night while patio sitting.
I finally got around to hemming them, and since I don't own a cover stitch machine to create the hem the dresses came with, I had to fake the hem. The hem I'm talking about is that that double stitched hem you see at the bottom of your t-shirts or knit dresses. The one that has the two stitches on the right side, and loops on the wrong side (or inside) of the garment. Yeah, that one!
So this is how we fake it, and you do need a serger. Start by cutting off the excess fabric, and then you are going to do a single layer serge along the raw edge to give it a clean finish.
Then you are going to pin up your hem allowance (I usually like to do a 1" hem on knits to give them some stability and weight). PLEASE NOTE: if your knit is extremely drapey or super stretchy, you might want to fuse a layer of tricot interfacing to the raw edge line. This will help give the knit even more stability and structure when you're sewing. I didn't do this, because my knit is a medium weight and was controllable.
When you're pinning your hem up, you will want to pin it from the RIGHT SIDE OF THE FABRIC. This is the side we are going to be stitching on. Tricky, I know, but the end result will be worth it.
The next thing you're going to do is thread a DOUBLE NEEDLE on your machine. Yes, we will be using a double needle! I tend to use the little wider needles (say, 4mm), but it's up to you. Be sure your presser foot has an opening wide enough to fit the double needle! I can't count how many times needles have busted because the foot opening was small.
Double needles are really easy to use and look awesome on the fabric. I did increase my stitch length ever so slightly to help with the tension of the needles and the knit.
The next step is, from the right side you have pinned, use the serged edge of your fabric (that is on the under side now) as a guide to line up along your foot as you begin to sew. The closer you can get the double stitching to the serged edge underneath, the more it will look like a cover stitched hem. Be sure to back stitch at the beginning and end of your rows!
This is what the hem should look like when it's all done!
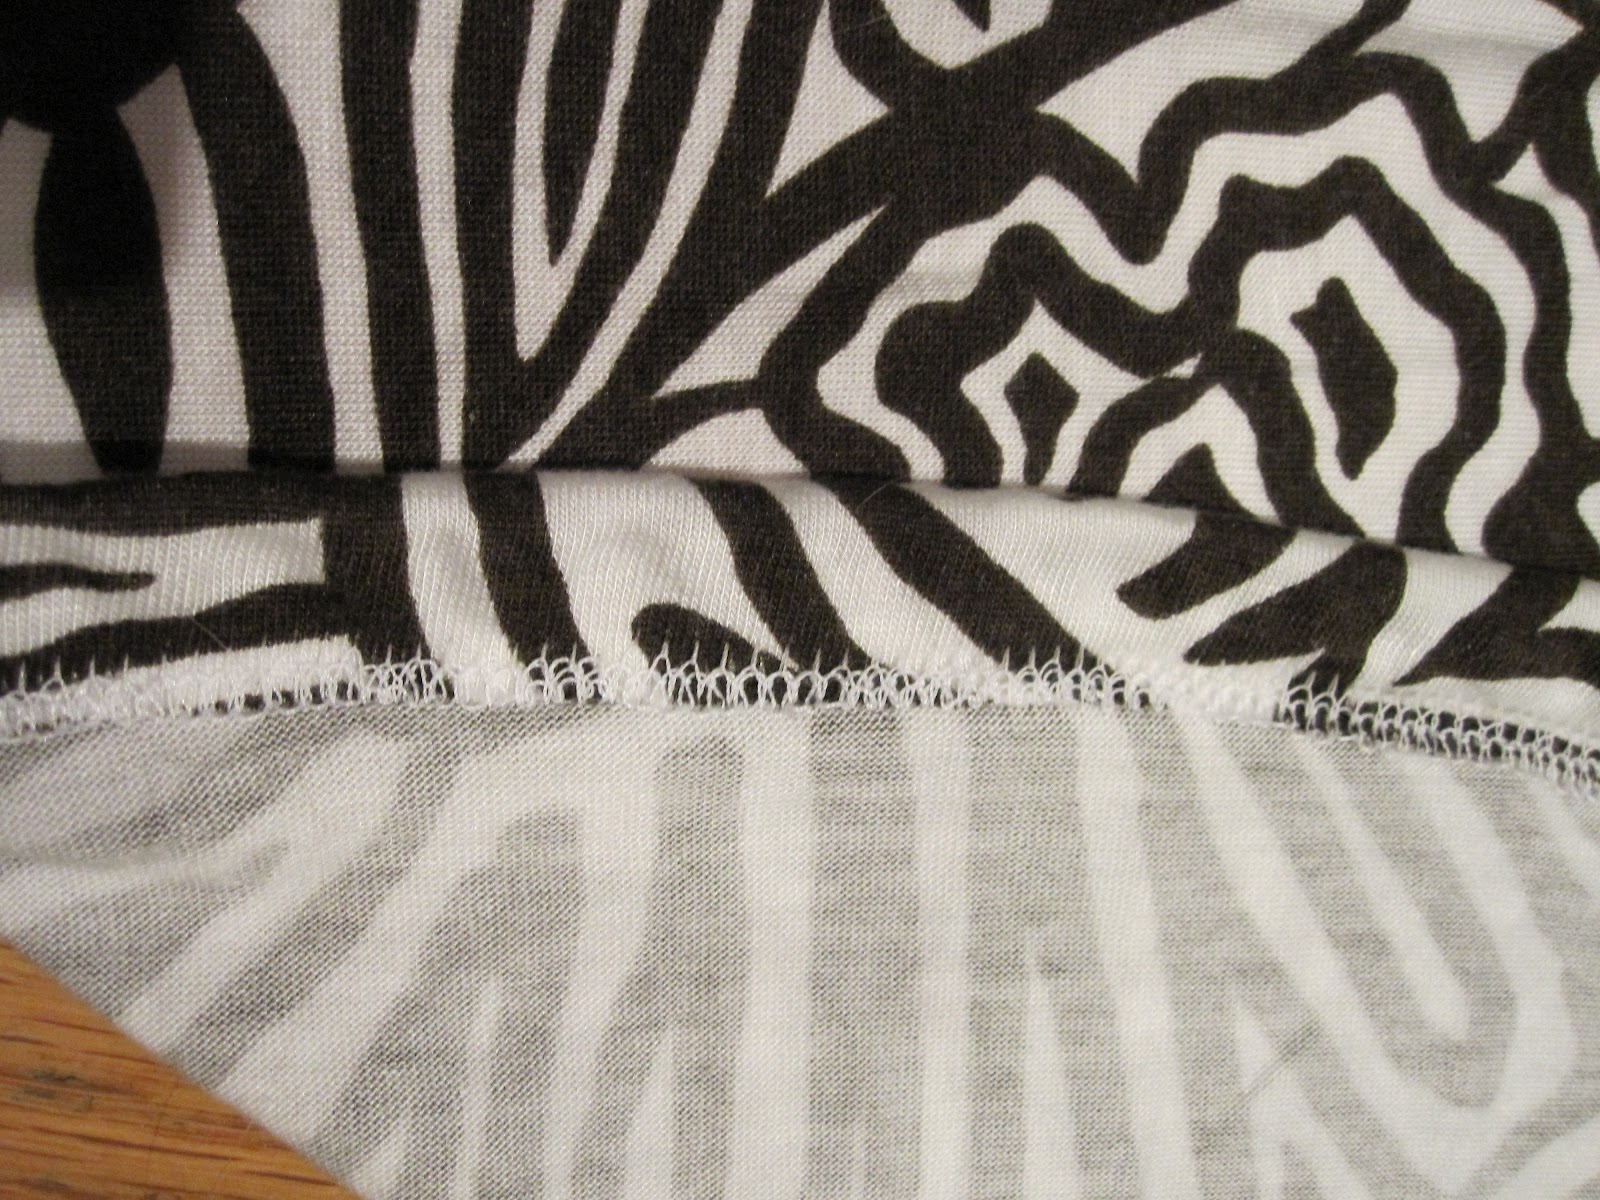
Here is a right side/wrong side view of the finished hem
Here is a close up of the wrong side
And that's it! Now you should be fearless of knits and faking a cover stitch hem! I'm pretty sure I will be wearing one of these maxi dresses to the
Taste of Randolph fest tonight too.
Los Campensinos! and
Those Darlins are playing, and I couldn't be more stoked!